

Today I'm going to show you how I made these cute, fun little knobs for my kitchen renovation. (This is my first real tutorial, so if it isn't clear or too wordy...sorry!) I love the idea of using something so "me" in my kitchen. Of course, I also like that it isn't permanent, and I can change the hardware to something more "traditional" at any point. The sky is the limit with how to customize these, and the end result looks very professional...
My inspiration for this project was a package of beautiful scented drawer liners I found at Home Goods while shopping with my sister. It was an amazing vintage/french type pattern that came in a box with a bow and smelled sooo good. The paper made me so happy, I had to figure out a way to put it in my kitchen. Do you ever find something that makes you happy just to look at it? This paper, oddly, did that for me.
 |
| I was without my "real" camera for pretty much this entire project- SORRY!!! It's home now. A tablet camera can only do so much. Yikes. |
To make it easier to obtain professional results for this project, I wanted a recessed center for the paper to sit in, and to provide a place to pour the epoxy so it would look like a glass insert. It is NOT easy to find a knob like this, but I finally did. I used these knobs which were given to me by the kind people over at D. Lawless Hardware. (Thanks, Derrick!)
 |
| "Hobby Wood Knob- Nutmeg" from D. Lawless Hardware |
You can also get threaded inserts and screws from this shop that I believe work with this knob. I thought they were being sent with my knobs, but they didn't arrive. If I can't find threaded inserts at Home Depot then I'll just end up using a screw. I'd recommend the threaded inserts though, I think it would make life easier when attaching/un-attaching the knobs to your drawers or cabinetry, and probably prolong the life of the knob. The knobs come finished, but a coat of spray paint works just fine over them. I did have to do a little bit of sanding- some of the inner edges of the recessed cuts were a bit jagged. It didn't take long though.

*Side note: You CAN do this with different cabinet knobs, just know that it is harder to get the paper to lay flat on a mushroom type knob- there might be little wrinkles- and the resin stage is also more difficult. You have to make sure all areas of the surface stay coated as it spreads out and begins to harden, and also you have to watch for drips! I tried it, it wasn't that easy though the results were nice when I managed not to totally screw it up.
Once you choose your knobs and finish any sanding, choose your spray paint color. I spray painted a couple coats on the top side, a minute or so apart. The next day I turned them upside down and repeated. I turned them right side up the 3rd day, and did a few more coats on the top. Probably overkill. The first coat I did was in white, and the finish coats were Krylon Ballet Slipper. For some reason I didn't take pictures of this stage, but I'm sure you all know how to use spray paint :)

Make sure your spray paint has cured completely before moving on. My can says it requires 48 hours to fully cure. For the next stage, you'll need the following:
 |
| Mod Podge, Paper or print outs of graphics, EnviroTex Lite, plastic cups/spoons, and a brush for spreading the Mod Podge. |
If you don't have a paper you like, you could print out some neat designs on your printer to use for the insert. If you don't have a 1" circle paper punch (I don't), and are printing from your computer, add 1" circles onto the printed page to make cutting out easier.
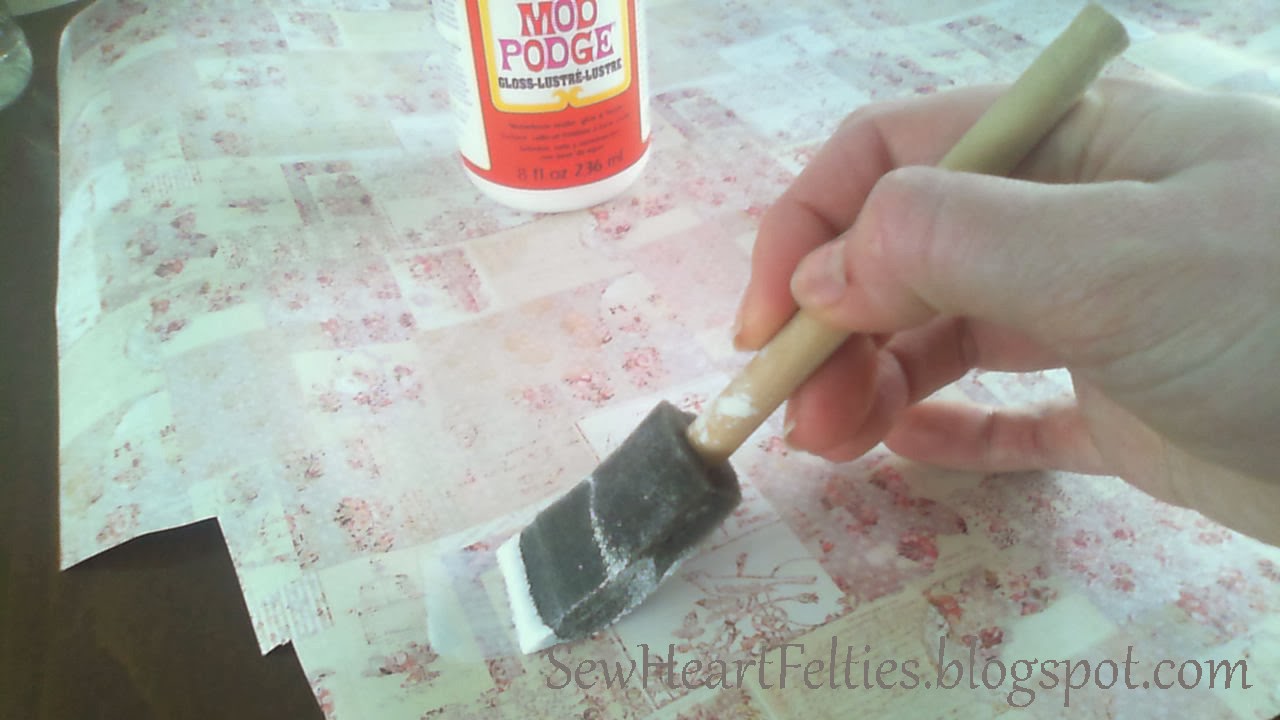
It's important to seal the paper with Mod Podge, or the envirotex can make the paper look wet and splotchy. You definitely DON'T want that. I thought I sealed my stuff really well, and I still have teeny areas around some of the edges that look a bit like wet paper. I painted the front of my design page with Mod Podge before I did any cutting.
Once the Mod Podge dries, use a quarter (or similar sized circle) to trace circles where you want them, and then cut them out. Slip the cut piece into the knob to make sure it fits well.
 |
| It's a good fit! |
Now you'll want to coat the back of your circles in Mod Podge and stick them into the center of the knob. Careful not to press TOO hard when you put them in- there is an open hole in the knob and you don't want to create an outline of that in your paper. I try to press around that hole but not over it.
 |
| Use tinfoil or parchment paper, etc. to set your circle on and paint the back side. |
When they dried, I also added another coat of Mod Podge over the top and around the inside edges. The first 8 I made did not have this step, and they are the ones that appear to have a few discolorations around the very edge. Hardly noticeable, but better to avoid it if possible. So I recommend the extra coat of Mod Podge. Make sure everything is completely dry before you start working with the resin.
You really don't want the resin getting stuck on your table or anything else- it will be a serious and possibly permanent mess, so grab a paper plate, tinfoil, parchment paper, regular paper, whatever. Protect your stuff. I set mine on a paper plate, and found that a 2nd plate works perfectly over the top for preventing dust getting into the resin as it cures.

Follow the directions that came with the EnviroTex EXACTLY when you do the pouring. Basically you take equal amounts of the hardener and the resin and whip them in a plastic cup for a couple minutes. For 8 of these knobs, you can get away with a heaping spoonful of each. I still had a little leftover. For the last batch I did, I used barely a full spoonful of the hardener and resin, and was seriously close to not having enough to cover. Maybe err on the side of too much. You also should probably measure a little better than I did. I eyeballed it with a spoon. They want you to be exact. And you should. I can't guarantee your results if you are as reckless as I am :)

Now you take just a dab of the epoxy mixture and plop it into the center of your knob (no picture, I needed both hands!). Don't use too much! Start with a smaller amount, you can always add more. You can gently move your knob around to get the epoxy to fill it. There will be a lot of little bubbles, and that's ok for now. On a few knobs, I put too much epoxy in, and it started overflowing a bit. I used a paper towel to absorb some out of the center, and to wipe it off the sides. You can't even tell it happened- crisis averted! Once you finish them all, put your dust cover on.
 |
| Dust cover highly recommended- or you'll end up with little specs of dust in your project! |
After about 5 minutes, go back and check for bubbles. If they are still there, very gently exhale onto the surface. You can also use a straw and gently blow if you don't want your mouth close to the chemicals. Just blow GENTLY. It is the CO2 that causes the bubbles to burst, not the strength of your blowing or the heat from blowing. Instructions for this are also in with the EnviroTex Lite.
It takes 4-7 hours to make it past the "dust danger" stage. Until it cures that long, if dust is flying in the air and lands on your project, you will be stuck with it. I have done projects without a dust cover, and although they still turn out nice it is much better if you can cover your work.
I waited a full 24 hours before handling my stuff and taking it out of the "protection zone." I loved how they turned out but the ballet slipper color was not as light as I had been hoping. I ended up lightening mine just a smidge, using a bit of white latex paint and Martha Stewart's Antique Effect medium. I just painted on the mixture, let it sit a minute, and gently wiped it off. It lightened it more to the shade I was envisioning. Eventually my kitchen will be done and I'll actually be able to put these in it! Yay!
If you try this project, let me know how it goes and feel free to ask any questions!
What a very cool effect! Worth all the time spent?
ReplyDeleteYes, definitely! I also had fun making them, so it didn't actually feel like "work" or anything :)
ReplyDelete